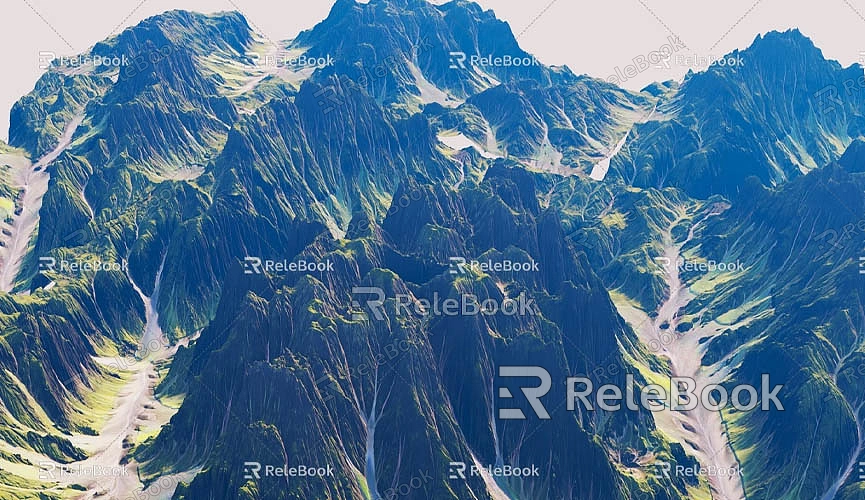
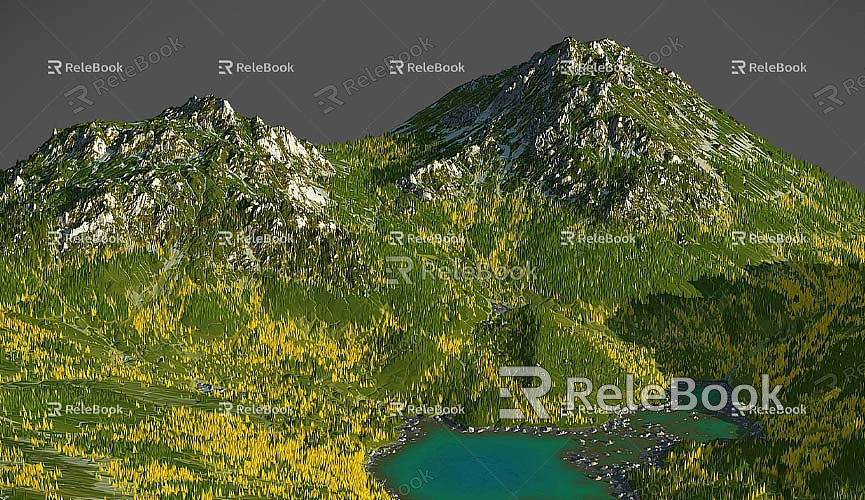
How to put terrain under model in sketchup
In the fields of architectural design, landscape design, and urban planning, the application of 3D modeling technology has become increasingly widespread. As the demand for virtual modeling and visualization continues to grow in the architecture and related industries, designers and developers often need to integrate buildings, landscapes, or urban plans with the surrounding natural environment. In 3D modeling, the representation of terrain is not only essential for the accuracy of the design but also directly impacts the visualization of the project.
Among the many modeling software options available, SketchUp has become one of the go-to tools for designers and developers due to its ease of use and powerful features. Other software, such as Unity or Revit, is typically used for later-stage rendering and interactive processes. To make models more realistic and immersive, designers often need to add terrain in SketchUp. By integrating appropriate terrain, the spatial, natural, and realistic qualities of the design can be significantly enhanced.
This article will explore how to add terrain under a model in SketchUp, offering a series of practical tips and techniques for designers. Whether you are working on architectural projects, landscape planning, or virtual reality (VR) or augmented reality (AR) projects, you'll find valuable insights here.

Why Add Terrain in SketchUp
Terrain is an essential component of architectural design, landscape design, and urban planning. It helps designers better understand and represent the environment of the project, enhances the visual effect of the design, and provides accurate geographical information for later construction or development. Adding terrain in SketchUp is not only about improving visual appeal but also about making the design more reflective of the real-world environment.
Making the Design More Realistic
When architectural, landscape, or urban designs lack a terrain background, the models tend to look overly simple and lack depth. By adding terrain, you can make the model more lifelike. For instance, the integration of a building with its surrounding terrain helps convey the building's height, slope, orientation, and other features, preventing the design from clashing with its environment.
This is especially crucial in landscape design. The variation in terrain—such as elevation changes, slopes, mountains, and lakes—directly affects the entire landscape design. By incorporating terrain elements in SketchUp, designers can better showcase their ideas and provide more accurate design solutions.
Providing Accurate Geographical Information
In projects that need to integrate with real-world terrain (such as urban planning and architectural design), the accuracy of the terrain is vital. By importing real-world terrain data, designers can ensure that their building models align properly with the actual environment, leading to more rational planning and design. This accuracy includes not only elevation but also slope, land surface types, and other characteristics.
For example, if you're working on a landscape design project, accurate terrain data can help assess drainage conditions or determine if a building's proposed location aligns with the natural environment. Thoughtful terrain design can also prevent issues that may arise during construction.
Improving Project Presentation
If you are presenting a project, especially in virtual reality (VR) or augmented reality (AR), adding terrain elements can significantly enhance the presentation. Whether in architectural visualizations or virtual walkthroughs of landscape designs, a realistic terrain background makes the entire presentation more dynamic and immersive.
How to Add Terrain Under a Model in SketchUp
To effectively add terrain in SketchUp, it's essential to choose the right method based on your specific needs. There are three common ways to add terrain: using SketchUp’s built-in terrain feature, importing external terrain data, and manually drawing the terrain. Let’s go over these methods.

Using SketchUp's Built-in "Get Terrain" Feature
SketchUp provides a convenient tool that allows you to directly import terrain data from Google Earth. This is particularly useful for small-scale or simple design projects, such as in architectural or landscape design, where you can quickly retrieve terrain data for the project’s location.
To use this feature, start a project in SketchUp and select the "Terrain" option under the "File" menu. You can search for the desired geographic area, and SketchUp will automatically display the terrain information for that region. Once selected, you can import the terrain data into SketchUp, which will generate a basic terrain model that includes elevation, slope, and other basic geographic details.
The advantage of this method is its simplicity and the fact that no additional plugins or external resources are required. It's perfect for smaller projects or designs that do not demand high terrain precision. You can adjust the terrain directly, for example, by using the Push/Pull tool to change the elevation or using the Sandbox tools for more detailed sculpting.
Importing External Terrain Data
For more accurate terrain data, especially in large-scale urban planning or landscape design projects, SketchUp supports importing external terrain data. Common external terrain formats include Digital Elevation Models (DEM) and Geographic Information System (GIS) data, which can provide more precise elevation and terrain features.
Using Digital Elevation Models (DEM)
A Digital Elevation Model (DEM) is a file format that represents surface elevation and is commonly used in Geographic Information Systems (GIS). By importing DEM data, designers can obtain highly accurate terrain information to better understand the project's site characteristics.
To use DEM files in SketchUp, you’ll need to install third-party plugins like the "SketchUp Terrain Generator." These plugins allow you to import DEM files into SketchUp and create detailed terrain models. This method is ideal for designs requiring high-precision terrain data.
Importing GIS Data
Geographic Information System (GIS) data contains multidimensional information about geographical features, such as location, terrain, climate, etc. It offers a comprehensive view of the environment surrounding a design. In SketchUp, plugins like the "SketchUp Importer for GIS" allow you to import GIS data into your project, creating more detailed and realistic terrain.
For urban planning and landscape designs, GIS data is invaluable. It helps designers understand the natural environment, climate conditions, land use, and other factors, allowing for more informed decisions when modeling the terrain.
Manually Drawing and Sculpting Terrain
In some cases, designers may need to manually create terrain to meet specific needs. For example, for simpler projects or unique terrain requirements, manual drawing provides more flexibility and control.
SketchUp offers a variety of tools to help users create complex terrain. Using the "Sandbox" tool, designers can draw contours or elevation points to create terrain with varying heights. These tools allow designers to sculpt hills, valleys, lakes, and other natural features, creating terrain models that meet their specific design needs.
For example, by drawing a series of contour lines, designers can simulate changes in elevation and use the Push/Pull tool to turn them into three-dimensional terrain models. Furthermore, by carefully adjusting the elevation of each section, designers can achieve precise control over the terrain.
Key Considerations When Creating Terrain in SketchUp
While SketchUp offers many tools for adding terrain, there are still some important details to keep in mind, especially for larger or high-precision projects.
Integrating Terrain with Building Models
Once the terrain is complete, it’s essential to ensure that the building model integrates smoothly with the terrain. The junction between the building and the terrain is often where mistakes happen. Using SketchUp's "Push/Pull" or "Move" tools, you can adjust the building to fit the terrain properly.
If there are unnatural gaps between the bottom of the building and the terrain, you may need to use the "Ground Adjustment" tool to refine the details and ensure the building aligns with the terrain. This step enhances the model’s realism and improves the overall visual impact of the design.
Rendering and Visual Effects
To make the terrain more expressive, you can apply appropriate textures and materials to the surface. In SketchUp, you can apply various natural materials such as soil, grass, rocks, etc., to the terrain. The right textures and materials will make the terrain more vivid and lifelike.
Lighting and shadow settings are also key to improving terrain rendering. Proper lighting helps showcase the terrain’s details and elevation changes, making the model more realistic. You can use SketchUp’s lighting tools to adjust the light direction, intensity, and other parameters, enhancing the visual effect.
Performance Optimization
As the complexity of the terrain and model increases, SketchUp’s performance may be impacted. Especially in large projects, as the file size and details grow, SketchUp’s rendering speed and response time may slow down. To optimize performance, designers can break down complex terrain into smaller sections and load them in segments. Avoid loading too much high-precision terrain data all at once to prevent software performance issues.
Adding terrain to your model is an important step in enhancing the realism and visualization of your design. In SketchUp, you can achieve this through various methods—whether using built-in features to get simple terrain data, importing accurate external terrain data, or manually sculpting terrain. By effectively adding terrain, designers can not only make their models more dynamic and realistic but also provide a more precise foundation for future project presentations and construction planning.
For those working on architectural designs, landscape planning, or urban projects, learning how to add terrain in SketchUp is a key skill that will elevate your workflow and project outcomes.
If you need high-quality 3D textures or HDRI for creating models and virtual scenes, you can download them for free at Relebook Textures. For exquisite 3D models, visit Relebook 3D Models for a vast collection of premium 3D resources. By utilizing these assets, you can greatly improve your model's expression and bring your projects to life.

